
Introduction
Setting up a snooker table is a meticulous process that requires careful attention to detail to ensure the best playing experience. Whether you are setting up a table at home, in a club, or in a professional venue, the process remains largely the same. A properly set-up snooker table ensures a smooth game, accurate ball movement, and durability of the playing surface. This guide will walk you through every aspect of setting up a snooker table, from selecting the right location to fine-tuning the final details for an optimal playing experience. Visit here
Choosing The Right Location
Before setting up your snooker table, the first and most crucial step is selecting an appropriate location. A standard snooker table measures 12 feet by 6 feet, but you also need additional space around the table for comfortable cue movement. Ideally, you should have at least 5 feet of clearance around all sides, which means your room should be at least 22 feet by 16 feet. Consider factors such as lighting, ventilation, and flooring. A flat, level surface is essential to prevent uneven ball movement, and a carpeted floor is preferable to minimize vibrations.
Assembling The Table Frame
Once you have chosen the perfect spot, the next step is assembling the table frame. Snooker tables are heavy, and their frames are built from solid hardwood for stability and durability. Lay out the main frame parts and follow the manufacturer’s instructions for assembly. Ensure that the frame is sturdy and secure before proceeding. The legs must be attached firmly, and the entire structure should be level before you place the slate on top. Checking the level at this stage will save time and effort in later adjustments.
Positioning The Slate
The slate is the most crucial component of a snooker table as it forms the playing surface. It is usually made of solid rock and comes in multiple sections that need to be carefully aligned. Position each piece of slate on the frame and adjust them until they are perfectly level and joined seamlessly. Use a leveling tool to check the evenness and apply slate joints and filler if necessary to create a smooth, continuous surface. Any misalignment at this stage will impact gameplay significantly, so take your time to get it right.
Clothing The Slate
Once the slate is in place and level, the next step is to cover it with high-quality snooker cloth. The cloth should be stretched tightly over the slate to ensure a smooth and fast-playing surface. Start by securing the cloth at one end and slowly work your way across, using a staple gun or adhesive depending on the manufacturer’s recommendations. Avoid wrinkles or loose sections, as they can cause the balls to roll unpredictably. After covering the slate, trim any excess cloth for a neat finish.

Installing The Cushions And Rails
The cushions and rails play a vital role in determining how the ball’s rebound during play. Attach the rails to the sides of the table, ensuring they are aligned perfectly with the edges of the slate. The cushions should be firmly fixed to the rails to maintain their responsiveness. Use high-quality rubber cushions to ensure a consistent bounce. Once the rails and cushions are in place, check their alignment and make minor adjustments if needed to guarantee an even playing field.
Setting Up The Pockets
Snooker pockets are designed to have a specific shape and size to challenge players while ensuring a fair game. Attach the pocket nets securely and ensure they are properly aligned with the table edges. The pocket openings should be consistent in size and depth to provide a standardized gameplay experience. Some tables allow for pocket size adjustments, so verify that they adhere to official snooker regulations if you are setting up a table for competitive play.
Final Leveling And Adjustments
Even after assembling all components, fine-tuning the table’s level is crucial to ensure precise ball movement. Use a spirit level to check the playing surface in multiple directions. If any part of the table is slightly uneven, adjust the leg levelers or place shims under the legs to balance it out. A perfectly leveled table ensures fair gameplay and prevents balls from drifting unnaturally. Take your time with this step, as even a slight incline can alter the accuracy of shots.
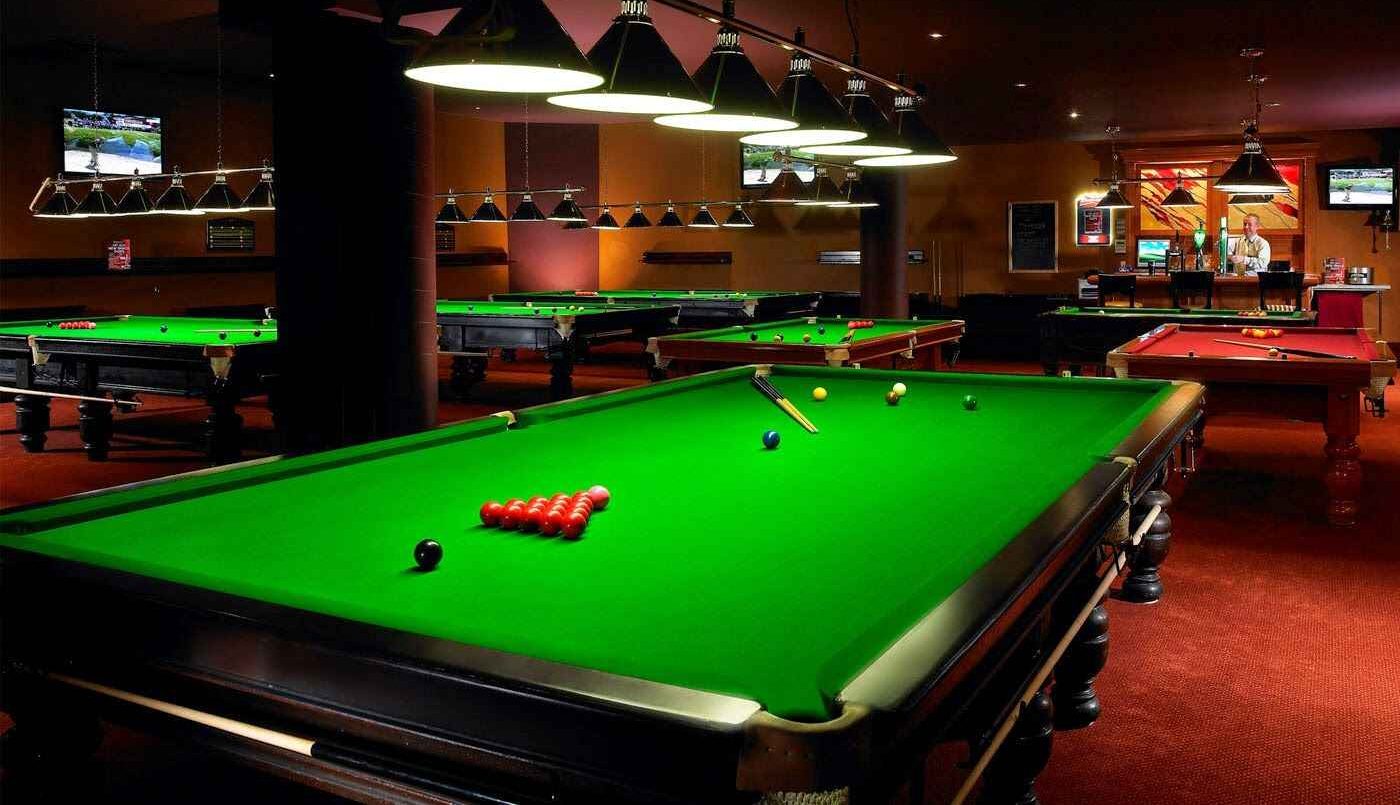
Lighting Considerations
Proper lighting is essential for a good snooker experience. The playing surface should be evenly lit, with no shadows or glare that might distract players. Hanging a snooker table light fixture above the table ensures uniform brightness. The ideal lighting system consists of multiple tube lights or LED panels positioned directly above the table, about 3 feet from the surface. This placement minimizes shadows and enhances visibility, allowing players to focus on their shots without visual obstructions.
Maintaining The Snooker Table
Once your table is set up, regular maintenance is necessary to keep it in top condition. Brush the cloth regularly using a proper snooker table brush to remove dust and chalk residue. Ironing the cloth with a snooker iron helps maintain a smooth playing surface. Additionally, check the cushions periodically to ensure they retain their bounce and replace them when necessary. Clean the balls frequently to prevent dirt buildup that can affect their movement. By maintaining your table properly, you can enjoy consistent gameplay for years to come.
Conclusion
Setting up a snooker table is a detailed process that requires careful planning and execution. From choosing the right location to assembling the frame, leveling the slate, clothing the surface, and fine-tuning the final adjustments, every step contributes to an optimal playing experience. Proper lighting and ongoing maintenance further enhance the quality and longevity of your table. Whether you are an amateur player setting up a home table or a professional ensuring tournament-level conditions, following these steps ensures that your snooker table is ready for a perfect game.