
Introduction
Spikeball, a dynamic and exhilarating sport, has gained widespread popularity in recent years, captivating players of all ages with its fast-paced action and competitive spirit. Setting up a Spikeball net is the first step towards enjoying this engaging game, whether you’re in your backyard, at the beach, or in a park. A Spikeball net assembly requires attention to detail and precision to ensure a sturdy and stable playing surface.
In this guide, we will walk you through the step-by-step process of setting up your Spikeball net, providing clear instructions and helpful tips to make the process seamless. Whether you’re a seasoned Spikeball enthusiast or a newcomer eager to join the fun, mastering the art of net setup will enhance your gameplay experience and set the stage for countless hours of enjoyment. Let’s dive in and get ready to Spike!
Spikeball Net – Unpacking the Equipment
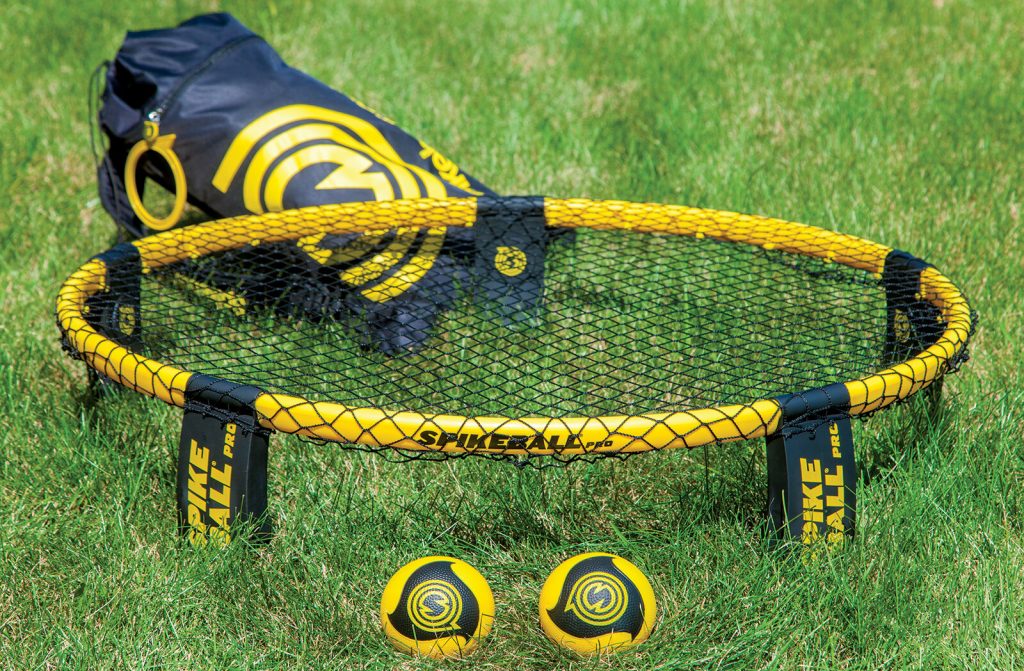
Before you can set up your Spikeball net, you’ll need to ensure you have all the necessary equipment on hand. A standard Spikeball set typically includes:
- One Spikeball net
- Three Spikeball balls
- A carrying bag or case
Once you’ve gathered your equipment, carefully unpack the components and lay them out in a clear, open space. Take a moment to familiarize yourself with each item to ensure you’re ready to proceed with the setup.
Assembling the Net Frame
The Spikeball net consists of a collapsible frame with adjustable legs, making it portable and easy to set up in various environments. Follow these steps to assemble the net frame:
- Begin by locating the circular net frame and spreading it out on the ground.
- Identify the four legs of the frame, each equipped with a locking mechanism.
- Extend the legs outward until they click into place, ensuring they are securely locked in position.
- Adjust the height of the legs according to your preference, making sure the net sits at a height of approximately 8 inches above the ground.
- Once the net frame is assembled and adjusted to the desired height, you’re ready to move on to the next step.
Attaching the Net
With the net frame in place, it’s time to attach the net itself. The Spikeball net features a taut fabric surface stretched between the frame, creating a springy playing surface for the balls. Follow these steps to attach the net:
- Locate the net portion of the Spikeball set, which is typically folded or rolled up for storage.
- Unfold or unroll the net and position it over the frame, ensuring that it is centered and evenly stretched between the four legs.
- Attach each corner of the net to the corresponding hook or attachment point on the frame, securing it in place.
- As you attach the net, take care to ensure that it is taut and free of wrinkles or sagging. A properly tensioned net is essential for maintaining the integrity of the game and facilitating smooth gameplay.
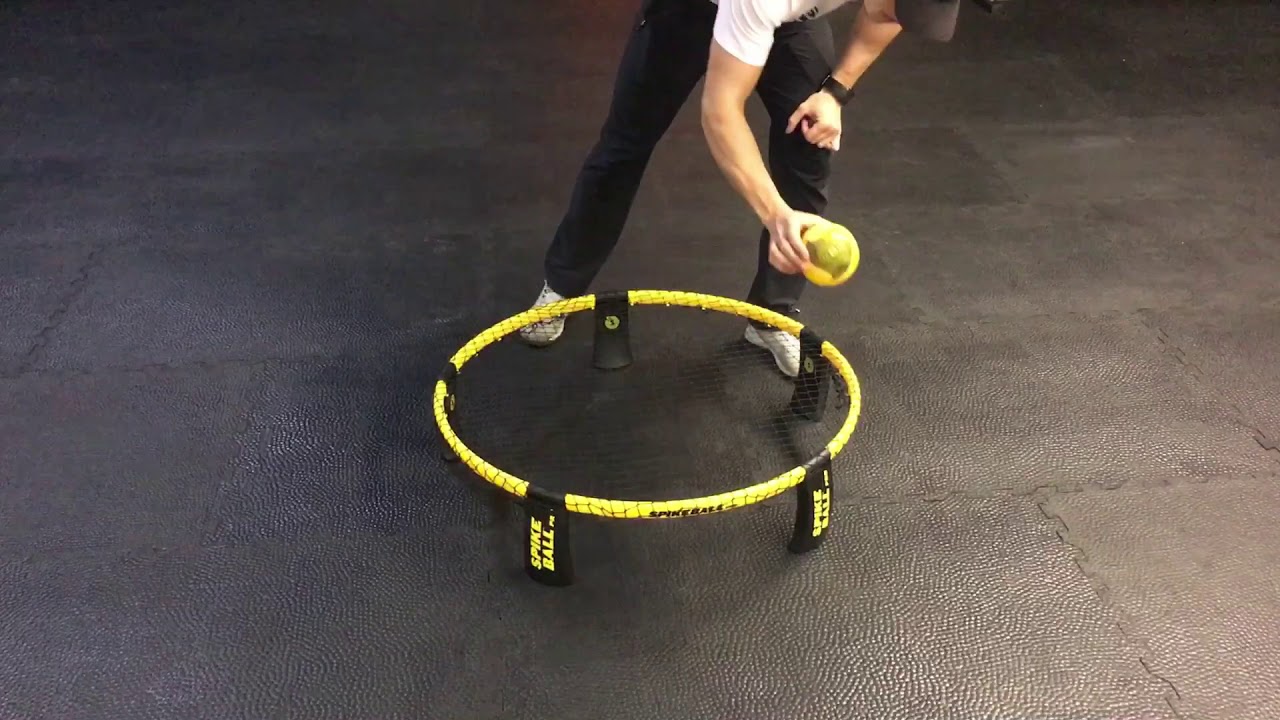
Testing the Tension
Once the net is attached, take a moment to test the tension and stability of the setup. Gently press down on the center of the net with your hand to gauge its responsiveness and firmness. The net should offer some resistance and spring back into place when released, indicating that it is properly tensioned.
If you notice any areas of the net that appear loose or slack, make adjustments as needed to tighten the tension and ensure uniformity across the entire surface. Proper tensioning is crucial for creating a level playing field and optimizing gameplay performance.
Final Adjustments and Finishing Touches
With the net securely in place, take a final moment to inspect the setup and make any necessary adjustments or finishing touches. Ensure that the net is centered within the frame and that all attachment points are secure. Double-check the height and tension of the net to confirm that it meets your preferences and specifications.
Once you’re satisfied with the setup, gather any remaining equipment and store it in the carrying bag or case provided with the Spikeball set. Congratulations—you’ve successfully set up your Spikeball net and are ready to unleash your skills on the court!
Adjusting Net Tension
Achieving the perfect tension in your Spikeball net is essential for ensuring fair and competitive gameplay. Here are some tips for fine-tuning the tension:
Tension Straps: Many Spikeball sets come equipped with tension straps located at each corner of the net. These straps allow you to adjust the tension by tightening or loosening them as needed. Experiment with different tension levels until you find the optimal balance that provides a responsive playing surface without excessive sagging.
Even Tension: Pay attention to the tension across the entire surface of the net. Ideally, the net should be uniformly taut without any areas of excessive slackness or sagging. Adjust the tension straps or attachment points as necessary to achieve consistent tension from corner to corner.
Testing: Periodically test the tension of the net by pressing down on the center with your hand. The net should offer some resistance and spring back into place when released. If it feels too loose or too tight, make adjustments accordingly until you achieve the desired level of tension.
Troubleshooting Common Issues
Despite your best efforts, you may encounter some common issues when setting up your Spikeball net. Here’s how to address them:
Uneven Height: If one or more legs of the net frame are uneven or unstable, adjust the height of the legs until the net sits level and flush against the ground. Use a level tool or visual inspection to ensure uniformity across all legs.
Slipping Attachments: If the net attachments or tension straps frequently come loose during gameplay, double-check that they are securely fastened and tightened. Consider using additional securing methods such as zip ties or carabiner clips for added stability.
Wrinkled Net: If the net appears wrinkled or uneven after setup, carefully adjust the tension straps or attachment points to smooth out any wrinkles and ensure a flat playing surface. Avoid over-tightening, as this can cause unnecessary strain on the net fabric.
Maintenance Tips
To prolong the lifespan of your Spikeball net and ensure optimal performance, consider the following maintenance tips:
Storage: When not in use, store your Spikeball net in a dry, climate-controlled environment to prevent damage from moisture, mold, or mildew. Use the carrying bag or case provided to protect the net from dust and debris.
Cleaning: Periodically clean the net fabric and frame with mild soap and water to remove dirt, sweat, and other debris. Avoid using harsh chemicals or abrasive cleaners, as these can damage the net material.
Inspection: Regularly inspect the net, frame, and attachment points for signs of wear, damage, or loosening. Replace any worn or damaged components promptly to maintain the integrity and safety of the net.
By following these tips and techniques, you can ensure that your Spikeball net remains in top condition and ready for countless hours of thrilling gameplay. With proper setup, maintenance, and care, your Spikeball net will continue to be the centerpiece of memorable matches and epic rallies for years to come.
Conclusion
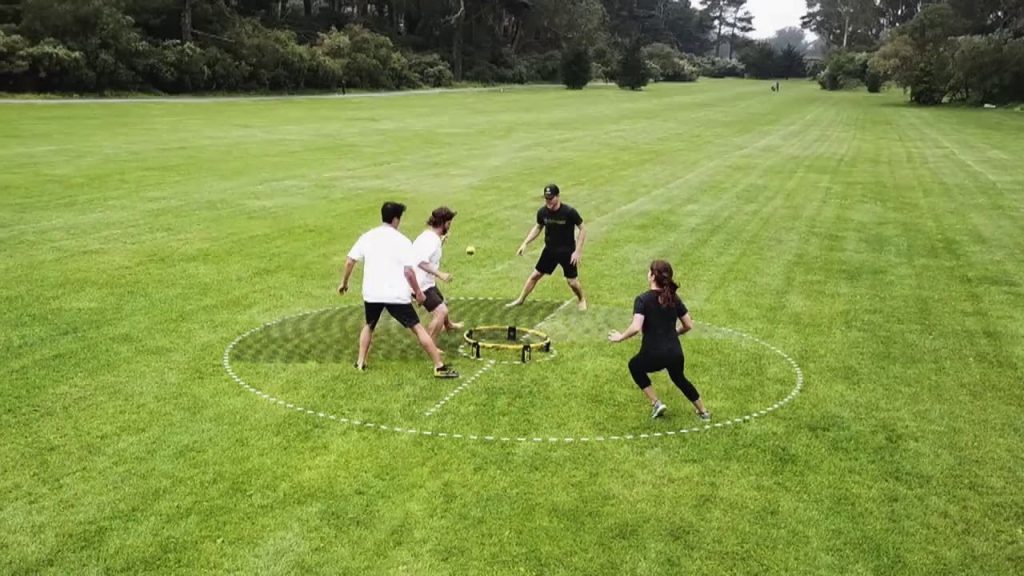
Mastering the setup of a Spikeball net is an essential skill for any player or enthusiast looking to enjoy the excitement and thrill of the game. By following the step-by-step guide outlined in this article, you can confidently assemble your Spikeball net with ease and precision. Whether you’re playing in your backyard, at the beach, or in a competitive tournament, a properly set up net ensures a level playing field and optimal gameplay experience. So gather your friends, grab your Spikeball set, and get ready to spike, dive, and rally your way to victory!