

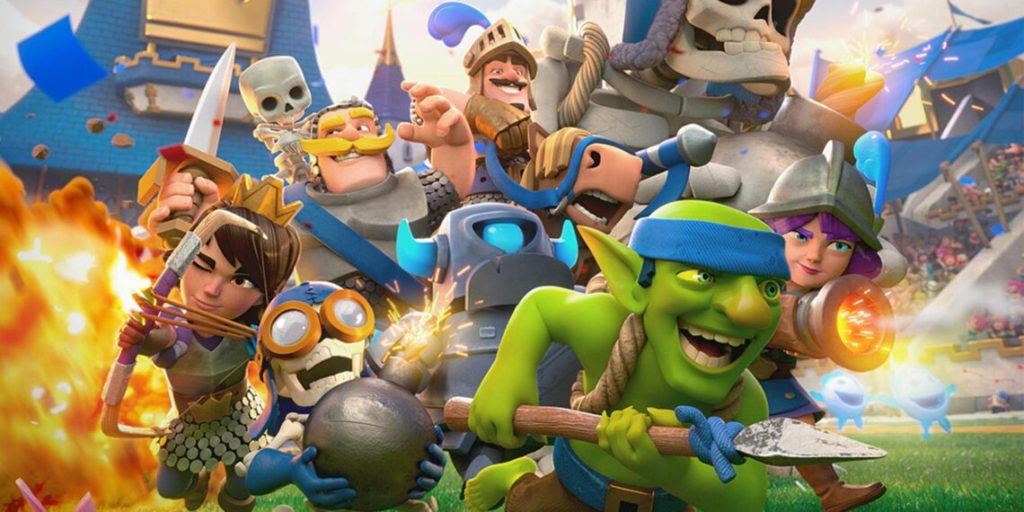
Introduction
In Clash Royale, success isn’t solely determined by having legendary cards or high-level troops. Instead, victory often hinges on how well players can craft strategic card combinations that deliver high damage, effective defense, or unstoppable pressure. Good Clash Royale combos are the foundation of mastering the game, whether you’re a beginner or a seasoned competitor. Good Clash, Understanding which cards complement each other and how to deploy them in sync with elixir management, timing, and map control is the essence of skilled gameplay. This comprehensive guide dives deep into various powerful card combos, their uses, and how they shape the Clash Royale meta. Whether you aim to climb the ranked ladder or dominate global tournaments, mastering these combos can be the key to triumph. Please visit this.
The Importance Of Card Synergy In Clash Royale

In Good Clash Clash Royale, a single card rarely wins battles. Players must craft decks with multiple synergies to handle offense, defense, and counter-pushes. Combos allow players to create strategic sequences where one card’s strength covers another’s weakness. Good Clash, For example, pairing a tank like Giant or Golem with a high-damage unit like Mini P.E.K.K.A or Sparky allows players to push towers effectively. Synergies ensure that players don’t just waste elixir on random drops but use it wisely to gain momentum. Smart combo usage can also force the opponent to overspend on defense, opening them up to counterattacks. Knowing when to pair cards and how to bait enemy counters is critical for long-term success in the arena.
The Classic Giant And Musketeer Combo
Good Clash, One of the earliest and most effective combos in Clash Royale is the Giant and Musketeer combo. The Giant serves as a high-health tank that soaks up tower and troop damage, while the Musketeer trails behind and deals ranged damage to enemies. This combination works well across most arenas, as it balances cost-efficiency with versatility. Good Clash, When supported by spells like Zap or Arrows, this duo can tear through weak enemy defenses and apply significant pressure. Even in higher arenas, the combo remains relevant due to its simplicity and consistent performance. It teaches players the principle of tank and support synergy, a key lesson in card-based strategy.
Hog Rider And Ice Spirit Cycle Combo
Speed and disruption define the Hog Rider and Ice Spirit combo. This two-card combination costs only five elixir and can be rotated quickly in cycle decks. Hog Rider charges directly at enemy towers, while Ice Spirit temporarily freezes defending units and the tower itself. This creates an opportunity for the Hog Rider to get in two or three guaranteed hits. This combo shines in decks that are built to constantly cycle back to Hog Rider, maintaining tower pressure and forcing reactions. Against unprepared players, the Hog + Ice Spirit push can repeatedly chip away towers until the final blow is struck.
Golem And Night Witch Destructive Push
Good Clash, In slower-paced control decks, the Golem and Night Witch combo is a devastating push that can overwhelm unprepared defenses. The Golem serves as the primary tank with immense health, while the Night Witch spawns bats and deals consistent melee damage. When these two are sent down the same lane with enough elixir to support with spells or ranged attackers, the push becomes nearly unstoppable. The Night Witch’s bats are especially useful for swarming defending troops, and the Golem’s death damage punishes tight troop placements. Though the combo is expensive in elixir, when timed well with double elixir, it can be a game-ending push.
Lava Hound And Balloon Air Assault
Few Good Clash combos are as feared in the air as the Lava Hound and Balloon pairing. Lava Hound is a flying tank that absorbs damage while the Balloon deals massive burst damage to towers. This combo forces opponents to carry sufficient air defense, and if not countered properly, it can secure a tower with one push. Timing is critical, especially in placing the Balloon just behind the Lava Hound so it remains protected. Supporting this air assault with Arrows or Miner ensures minimal distraction for the Balloon. Mastering this combo allows players to dominate with aerial supremacy, often punishing decks that rely too heavily on ground units.
Miner And Poison Controlled Pressure
The Miner and Poison combo exemplifies controlled, surgical pressure in Good Clash Clash Royale. This synergy is perfect for chip damage strategies where constant, small attacks whittle down enemy towers. The Miner targets the back of the tower or key enemy support troops, while the Poison slowly damages everything within its radius. This combo is effective against swarm decks and support-heavy pushes, as Poison clears out Skeleton Army, Minion Horde, or Archers while the Miner chips away. It also shines in control decks that aim to manage the game tempo, prevent massive pushes, and win through consistent tower damage over time.
X-Bow And Tesla Siege Lockdown
Good Clash, For players who enjoy control and patience, the X-Bow and Tesla combo is a mainstay of siege decks. The X-Bow targets enemy towers from your side of the arena, while Tesla offers powerful defense that pops up when needed. Timing and precise elixir usage are crucial for this combo to succeed, as the X-Bow needs protection to lock onto towers. Tesla deals with ground and air threats alike, while cards like Ice Spirit or Archers help cycle back to the next X-Bow. When executed well, this combo puts immense pressure on your opponent, forcing them to react while you defend and repeat the cycle.
Royal Giant And Furnace Zone Control
Good Clash, The Royal Giant and Furnace combo is excellent for controlling lanes and applying constant pressure. Royal Giant targets buildings and towers from a distance, while the Furnace spawns Fire Spirits that provide chip damage and defense. This synergy allows the player to wear down the opponent gradually, especially against decks with minimal range or building-targeting troops. The Furnace also forces the opponent to play reactively, especially with repeated Fire Spirits damaging both troops and towers. It’s a reliable combo for ladder play, where consistency and chip damage are more important than one big push.
P.E.K.K.A And Electro Wizard Balanced Counterpush
Good Clash, When dealing with heavy pushes, the P.E.K.K.A and Electro Wizard Good Clash combo is a strong defensive and counter push pairing. P.E.K.K.A eliminates tanks and high-damage threats with ease, while the Electro Wizard stuns and slows down support troops or win conditions like Sparky. After a successful defense, this combo transitions into a powerful counterattack. Players can support the push with Bandit, Magic Archer, or Battle Ram for even more pressure. This duo excels in decks built around control and calculated aggression, often used in competitive play and Grand Challenges.
Mega Knight And Wall Breakers Pressure Combo
For high-pressure plays and constant elixir value, the Mega Knight and Wall Breakers combo delivers explosive results. Mega Knight provides strong area control with his spawn damage and tanky presence, while Wall Breakers threaten quick tower damage if ignored. When used together, they force the opponent to split their defenses or suffer serious consequences. This combo thrives in fast-paced decks that are hard to defend against once they gain elixir advantage. Supporting cards like Bats or Miner add additional layers to the strategy, creating hard-to-counter offensive setups that cycle rapidly.
Bridge Spam With Bandit And Battle Ram
Good Clash, Bridge spam decks are designed to attack the opponent rapidly and unpredictably. The Bandit and Battle Ram combo embodies this concept, creating sudden, powerful pushes that require immediate responses. The Bandit’s dash ability allows her to avoid initial damage and hit hard, while the Battle Ram charges toward the tower and spawns Barbarians on contact. Good Clash, This combination is best used when the opponent has low elixir or just committed to a push on the opposite side. The fast nature of the combo means it can be cycled quickly and used repeatedly to wear down the opponent’s tower and psyche.
Elite Barbarians And Rage Tower Demolisher
When it comes to overwhelming brute force, the Elite Barbarians and Rage combo can surprise even experienced players. Elite Barbarians already deal high damage and move fast; adding Rage makes them move and attack even quicker. This often results in a tower being demolished if the opponent has no counter ready. Timing and positioning are key, as this combo works best as a counter-push after defending with Elite Barbarians. Once they cross the river, dropping a Rage spell at the right moment maximizes their offensive potential, making it one of the most devastating surprise combos in the game.
Ram Rider And Lightning Disruption
Ram Rider combines offensive pressure with defensive slowdown, and when paired with Lightning, becomes a high-level combo that eliminates threats and punishes over-committed opponents. Ram Rider slows down enemy troops while moving toward the tower, and Lightning clears defensive supports like Musketeer, Wizard, or Electro Dragon. Good Clash combo allows players to break through solid defenses and control the battlefield’s pace. It’s particularly strong in mid-to-high ladder where smart Lightning placement can change the tide of the game. Proper timing is essential to protect the Ram Rider and capitalize on the lane pressure effectively.
Balloon And Freeze Deadly Tower Push

Another popular and devastating combo is the Balloon and Freeze. When players catch the opponent without a proper air counter, deploying the Balloon followed by a Freeze spell just before the Balloon reaches the tower can be a game-winning move. Freeze disables all defending troops and towers, allowing the Balloon to drop multiple bombs. Good Clash combo relies on surprise and good timing, but when executed well, it can turn a losing match into a quick comeback. Supporting this combo with Ice Golem or Baby Dragon makes it even more effective and harder to stop.
Royal Hogs And Heal Spirit Split Push
Royal Hogs are excellent for applying split-lane pressure. When combined with Heal Spirit, this combo ensures the Hogs can survive longer and deliver more hits on towers. The Heal Spirit jumps in and restores health after splash or defense damage, giving Royal Hogs second life. Good Clash combo excels in decks built for fast cycles and consistent damage, especially when backed up by Firecracker or Zappies for defensive support. It’s useful for players who prefer chip damage over all-in pushes and want to maintain map control throughout the game.
Conclusion
Mastering Good Clash Clash Royale isn’t about memorizing every card interaction but about understanding how to build and deploy strong combos that synergize with your deck and elixir curve. Each combo in the game serves a strategic purpose—some dominate with raw damage, others with control, chip pressure, or unpredictability. Players must adapt their strategies based on the current meta, elixir advantage, and the opponent’s deck type. Learning how to create your own combos or adjust classic pairings based on game situations separates casual players from skilled contenders. Whether you rely on Hog cycles, Golem beatdowns, or siege setups, strong combos are the core of every Clash Royale victory. As you continue to explore the game, test these synergies and evolve your strategies to stay ahead in the ever-changing world of Clash Royale.